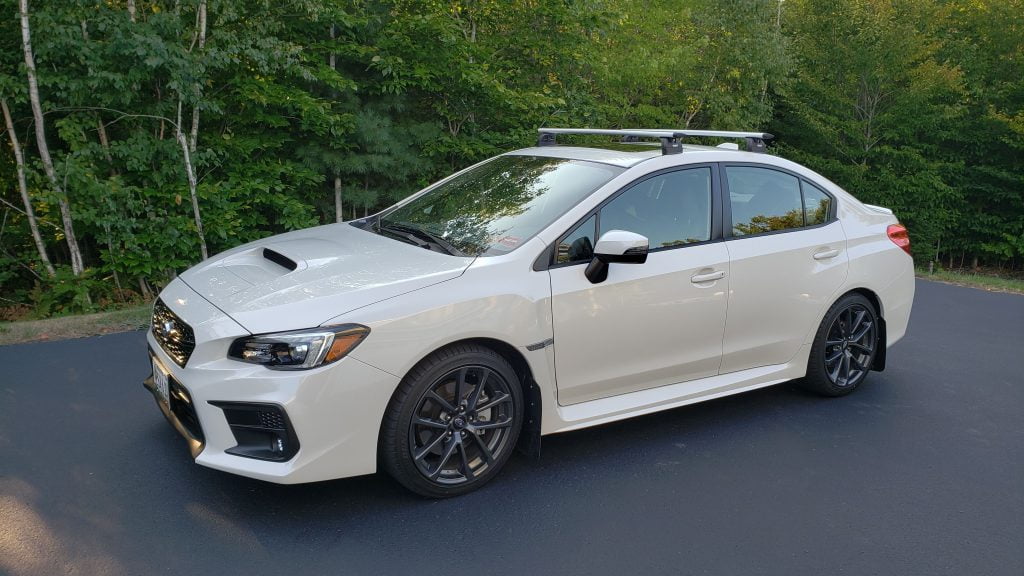
There are only 2 options if you want a hitch on a 2015+ Subaru WRX. One option is a 1 1/4″ hitch that sits below the bumper causing a loss in the already low ground clearance, and looks bad. The other option is the “EcoHitch Invisi Trailer Hitch Receiver – Custom Fit – Class III – 2“. The ecohitch has a more standard 2 inch receiver and mounts higher and is hidden behind the rear bumper where a 3rd brake light is mounted in Australia models of the WRX.

The eco hitch is rated as a 10/10 for install difficulty on eTrailer, but besides 3 points that had me stuck for a bit (Wont apply to everyone), it wasn’t a difficult install, it was just time consuming. It probably took me 6 hours.
Some of the more complex or time consuming parts of the install are:
- Removing the rear bumper. There are a lot of clips and tugging it off was a challenge.
- The exhaust must be dropped from the hangers to install this.
- You need to remove 2 heat shields and cut out spots for bolts to come through.
- The WRX requires a special wire harness for the trailer power connector that needs to be run to the battery.

This is the WRX mostly prepped for hitch install. Trunk gutted, rear bumper cover removed, rear tail lights removed, rear bumper removed, heat shields removed and exhaust hanging.
The hardest part to getting here was removing the rear bumper cover. A couple years ago I had an autobody shop replace the rear bumper after being rear ended. What caught me off guard is that when putting the new bumper on, they decided to rivet it in place. I was tugging at the bumper and it was not coming off. I was trying different things and searching for tutorial after tutorial on YouTube where it just comes off for other people. It turned out the little black circle in the pictures below needed to be drilled out first.
One the bumper was off the instructions were great and it was just a slow process. The tool that made dropping the exhaust a lot easer was an exhaust hanger tool. It is worth it. Also a spray bottle of dish soapy water helped them slide better.
The next day I installed the wire harness by following the etrailer instructions and video UNTIL the part where they send the power wire under the car. I live in Maine and did not feel comfortable running a wire under the entire car to get to the battery. For one, its March and under my car is a mess anyway, but I also figure it shouldn’t be exposed to the elements if it doesn’t need to be. So I started watching videos on wiring a subwoofer in the WRX and it looked quicker than jacking the whole car up. Trim was actually easy to remove in this case, and the rear seat cushion pops right off. My only headache was removing the front wheel well liner which meant removing the mud flap and running the wire through that section. Every video I watch said to use the cut out for the sun roof drain. Dont bother, its nearly impossible to actually guide a wire to that point. Instead, above it a little more in the wheel well is a large grommet. Cut a tiny hole in that and just poke the wire through from the inside. Easy.


In my use case, I have the Triton XT4.5 single wide tilt trailer. With this setup I needed a 3/4″ rise to make it level. An alternative would be a no rise receiver. The WRX hitch actually sits about 2 inches higher than a 2019 Subaru Forester hitch.
The location of the chains on this hitch are pretty far apart. I did have to buy longer emergency chains to reach because the ones that came on my trailer were too short. The curt safety cables 80136 work great and are cheap.
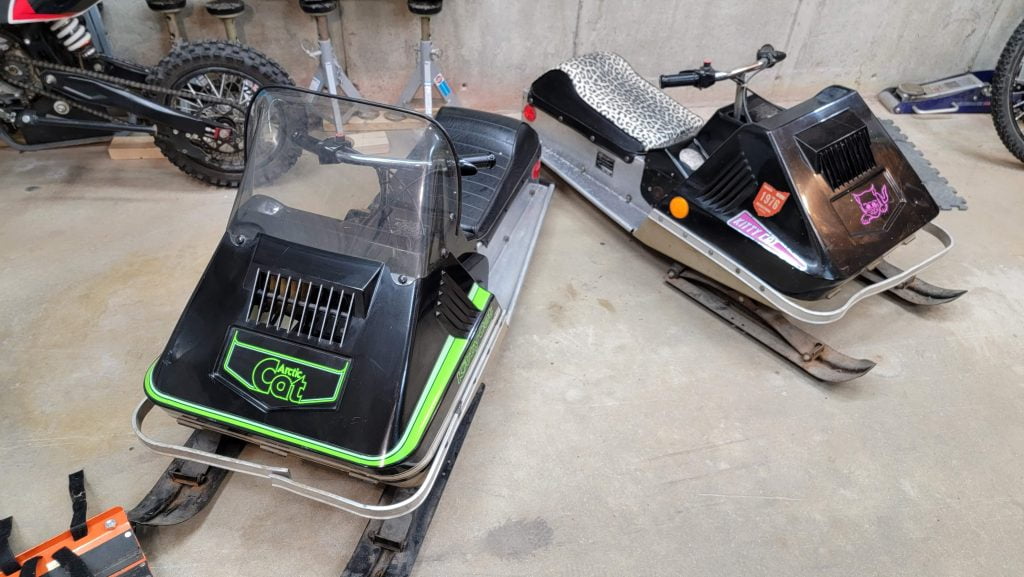
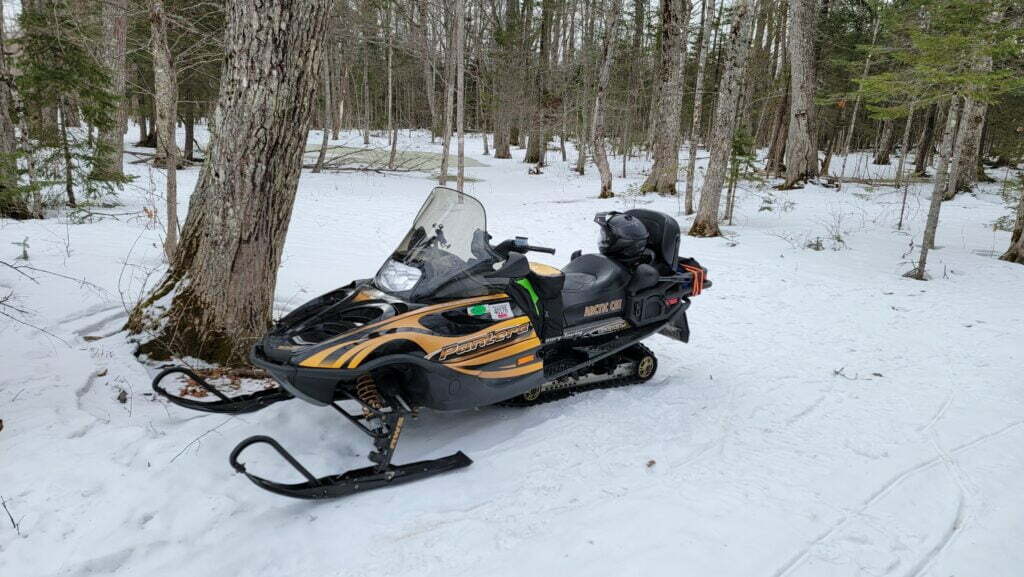
My goal is to transport my snowmobile or my ATV or pull a small 12′ aluminum boat or bring my trailer to pickup wood from the store or wood chips/mulch from the nearby landscape supply shop. I plan on adding removable walls to the trailer in the near future.

Ill need to do follow-up once I have towed more than just a few minutes in my subdivision. My little amount of driving with a 700 pound sled and 350 pound trailer so far felt fine just a little more brake pressure was needed.

I should probably get to the painful part of using this hitch. That is access to getting the receiver pin in place. Its tough. I have cut away a bit of the bumper as seen in the photo here. I will clean it up now that I know how much I needed to remove. I also left out the bumper clips near the hitch. This allows some room to pull the bumper out with one hand and use the other hand to slip the pin into place. Then I move to the other side to slide on the pin lock. Consider this style of hitch pin because you don’t need to try and spin it around to get the clip on. All things considered, the 2 minutes on my back behind the car to get the receiver on is worth it for the capability the Subaru WRX now has. Newer bike racks have a design where you don’t even need to deal with a pin.
I think there is a solution to this problem by using a product like the “Flash Locking Ball Mount” but will need to research more before putting in so much money.


